Installation of ML Studio
ML Studio is a GUI tool that provides a productive environment for you to develop, test, and deploy deep learning models.
This post will walk you through the steps of setting up the ML Studio software and related frameworks on your computer.
Installation Requirements
First of all, please make sure your computer meets the following requirements.
- Your computer is running Windows 10 (64 bit)
- Your computer has installed Microsoft.Net Framework 4.5.2
CNTK Setup
ML Studio currently uses the Microsoft Cognitive Toolkit (CNTK 2.0) as its deep learning framework. You should first install the CNTK 2.0 release on your computer. There are several approaches for setting up CNTK on your computer, I recommend the script-driven installation approach, which is simpler.
The instruction of using the script-driven installation is here. It will walk you through the process of installing the CNTK 2.0 for Windows based on a binary distribution.
Note: You must unpack the downloaded zip file into the folder c:\local\CNTK-2-0
ML Studio utilizes the Google Tensorboard for visualizing the result of training and testing models. To enable this feature, you should install Tensorflow for Windows on your computer in which the Tensorboard is one of the components.
ML Studio Setup
Download ML Studio setup from here, run the downloaded ML Studio setup, follow the steps until the installation is complete. Then, launch the ML Studio by clicking the ML Studio icon on your desktop.
Getting Started
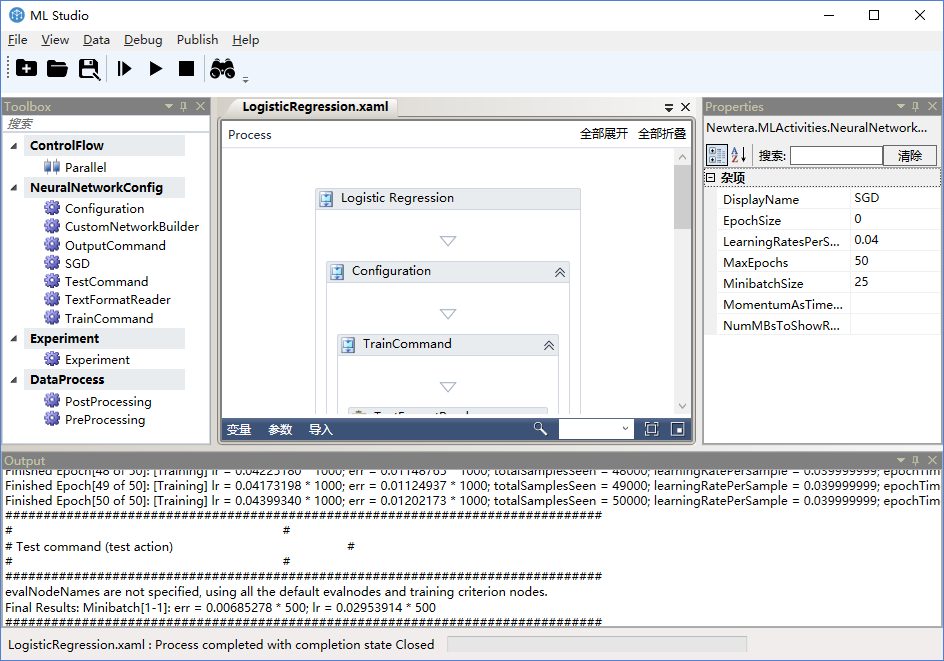
The best way to get started with the ML Studio is to open one of examples located at C:\Program Files\Ebaas\MLStudio\Examples, assuming you installed the software on the default path, and click the “Initial Run” command on the toolbar. If the setup is done correctly, you should be able to see the results in an output window at the bottom.
 Fig. 1: Run ML Studio with an example